How to cut helmet with robotic waterjet machine ?

Cutting a helmet with a robotic waterjet machine requires careful planning and precision. Here's a general step-by-
step guide on how to cut a helmet using a robotic waterjet machine:
1. Design the cutting pattern.
Determine the desired cutting pattern or shape you want to achieve on the helmet. This can be done using
computer-aided design (CAD) software. Convert the design to a waterjet machine-readable form Export the cutting
pattern from the CAD software into a format compatible with the robotic waterjet machine. Common file formats
for waterjet machines include DXF or DWG.
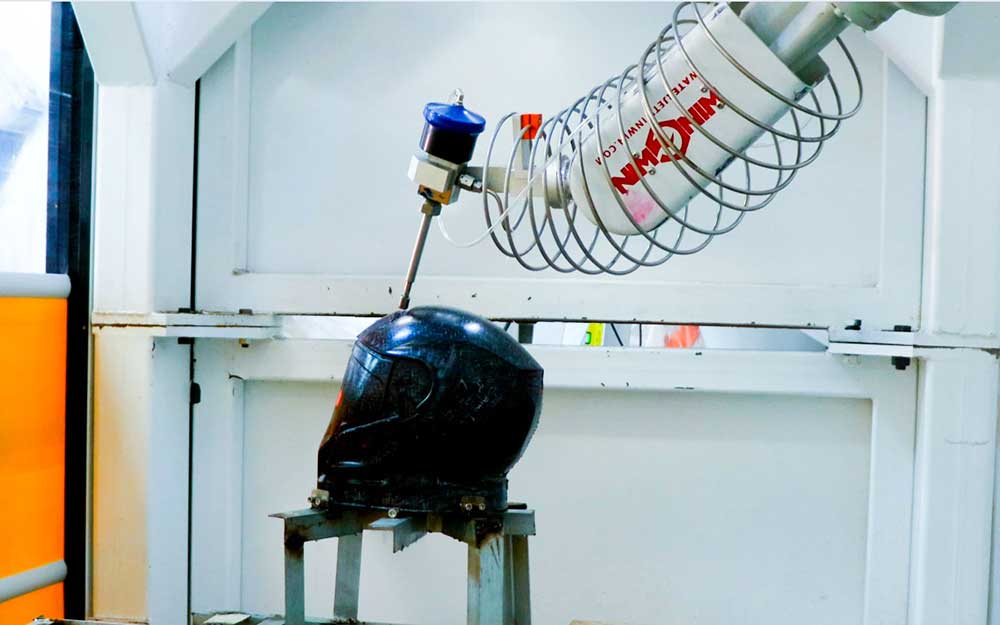
2.Position the helmet.
Secure the helmet in a suitable fixture or clamping mechanism to ensure it remains stable during the cutting
process. Position it in a way that allows the robotic arm to access the cutting area easily.
3.Test and adjust the cutting parameters
Before cutting the actual helmet, perform a test run on a similar material or a scrap piece to fine-tune the cutting
parameters. This includes adjusting the water pressure, abrasive flow rate, cutting speed, and other relevant
settings. Make sure the parameters are optimized for cutting the helmet material without causing damage or
deformation,Start the cutting process.
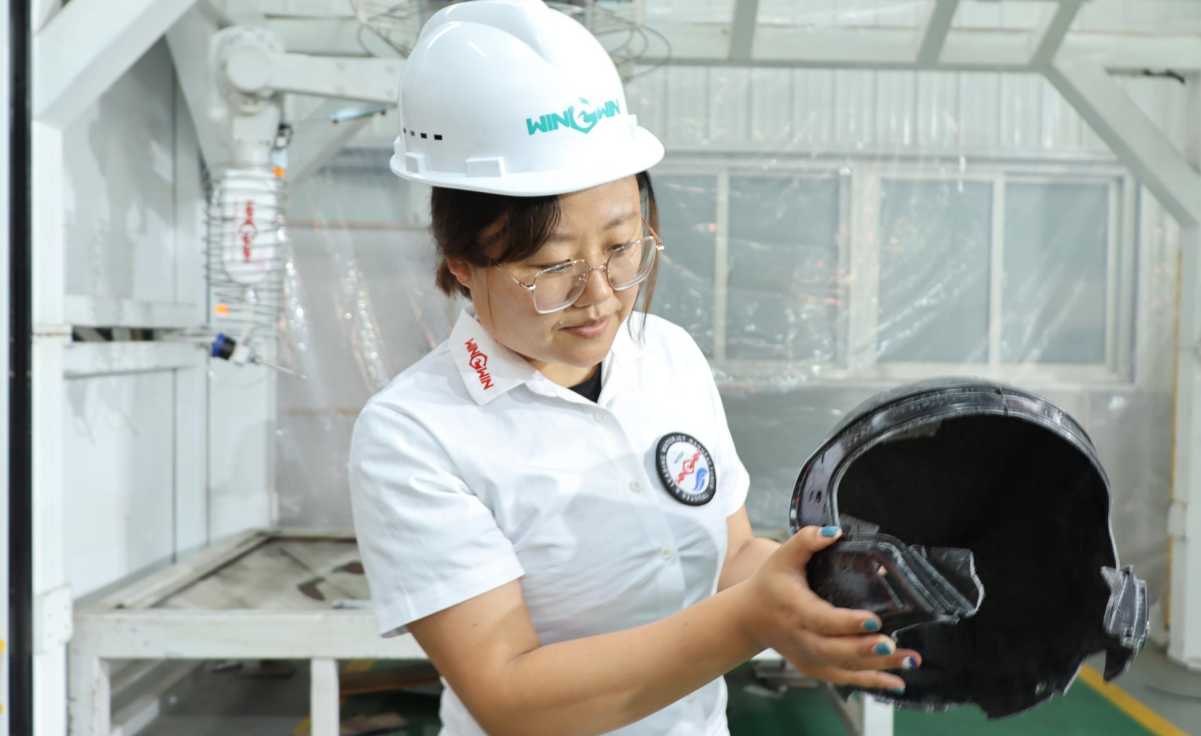
4.Inspect the cut helmet
Once the cutting is complete, carefully remove the helmet from the fixture and inspect the cut edges. Ensure the
desired shape and quality of the cut are achieved.

If you have any helmet cutting needs, whether it is a military helmet, a motorcycle helmet or a sports helmet,
winwin provides you with customized helmet robotic waterjet cutting solutions.
 wwaterjet