 wwaterjet
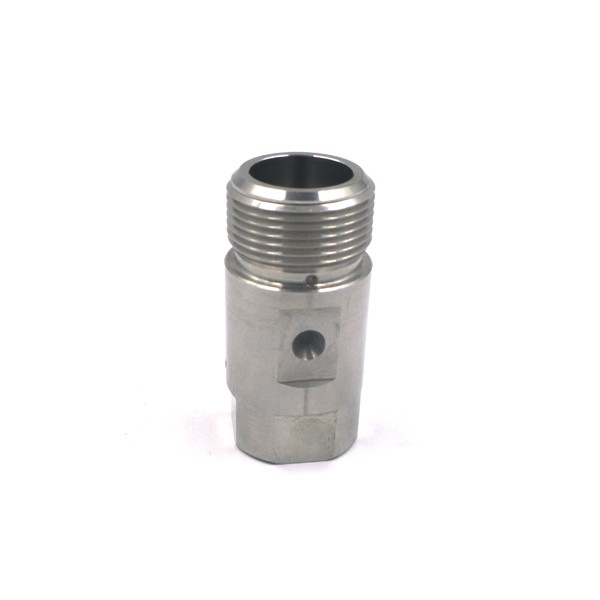
11033 Valve Body Tech-Head Option Parts Listtion
Parts List
Removing the Valve Body components.
1. Isolate the water pressure from the ON/OFF valve by stopping the pump and verifying the pressure has dumped from the system.
2. Turn the actuator ON and verify that there is NO water pressure.
3. With the actuator pressurized with air, unthread the adapter/nozzle tube from the bottom of the valve body and remove the seat from the bottom.
4. Turn the air to the actuator OFF and REMOVE the airline from the side of the actuator.
5. Unthread the actuator from the top of the valve body.
6. With the valve body still in the mounting collar, remove the seal components by using the seal removal tool 11205 and push up through the
bottom of the valve body.
7. Thoroughly wash out the interior of the Valve Body before replacing components.
NOTE: The needle guide ID may have build-up of seal material at the bottom of the .093 dia section. After extensive use, this build-up may stop the
needle from closing. If the Guide ID is going to be re-used, it must be cleaned. A .093 drill bit can be used, to manually remove this material.
Installing new Valve Body components.
1. Place the needle bearing over the needle with the needle going through the vent hole side.
2. Place the valve seal with the o-ring side out over the end of the needle.
3. Lubricate the o-ring on the valve seal with seal grease (not Goop) and insert into the top of the valve body until the needle guide is flush to the
top of the bore.
4. Apply goop to the actuator tread and hand tighten the actuator onto the top of the valve body. Reattach air to the actuator and turn actuator air
pressure on to pull the needle valve up, then fully tighten the actuator.
5. Apply Pure Goop to the surfaces at the top of seat and to the surface of the seat where the needle seats.
6. Place the seat into the pilot diameter at the top of the adapter/nozzle tube and thread the adapter/nozzle tube into the bottom of the valve.
Torque the adapter/nozzle tube to the valve using the two-wrench technique.
7. Turn off the air to the actuator.
8. Reapply high-pressure water to the valve and check for leaks.
9. Apply water pressure to the valve assembly to verify there are no leaks. Before installing the Cutting Head quickly cycle the Valve on and off a
few times to purge all contaminants. Reinstall the Cutting Head and commence cutting

If you are searching 11033 Valve Body Tech-Head Option Parts List,contact wwaterjet


